Shipping was quick and the cookie cutter looks great!
Hi there! Thank you so much for your kind words! We are thrilled to hear that you are happy with your new cowgirl boots cookie cutter and embosser. We always strive to provide quick shipping and high-quality products to our customers. Happy baking! :)
Aaron & Emma
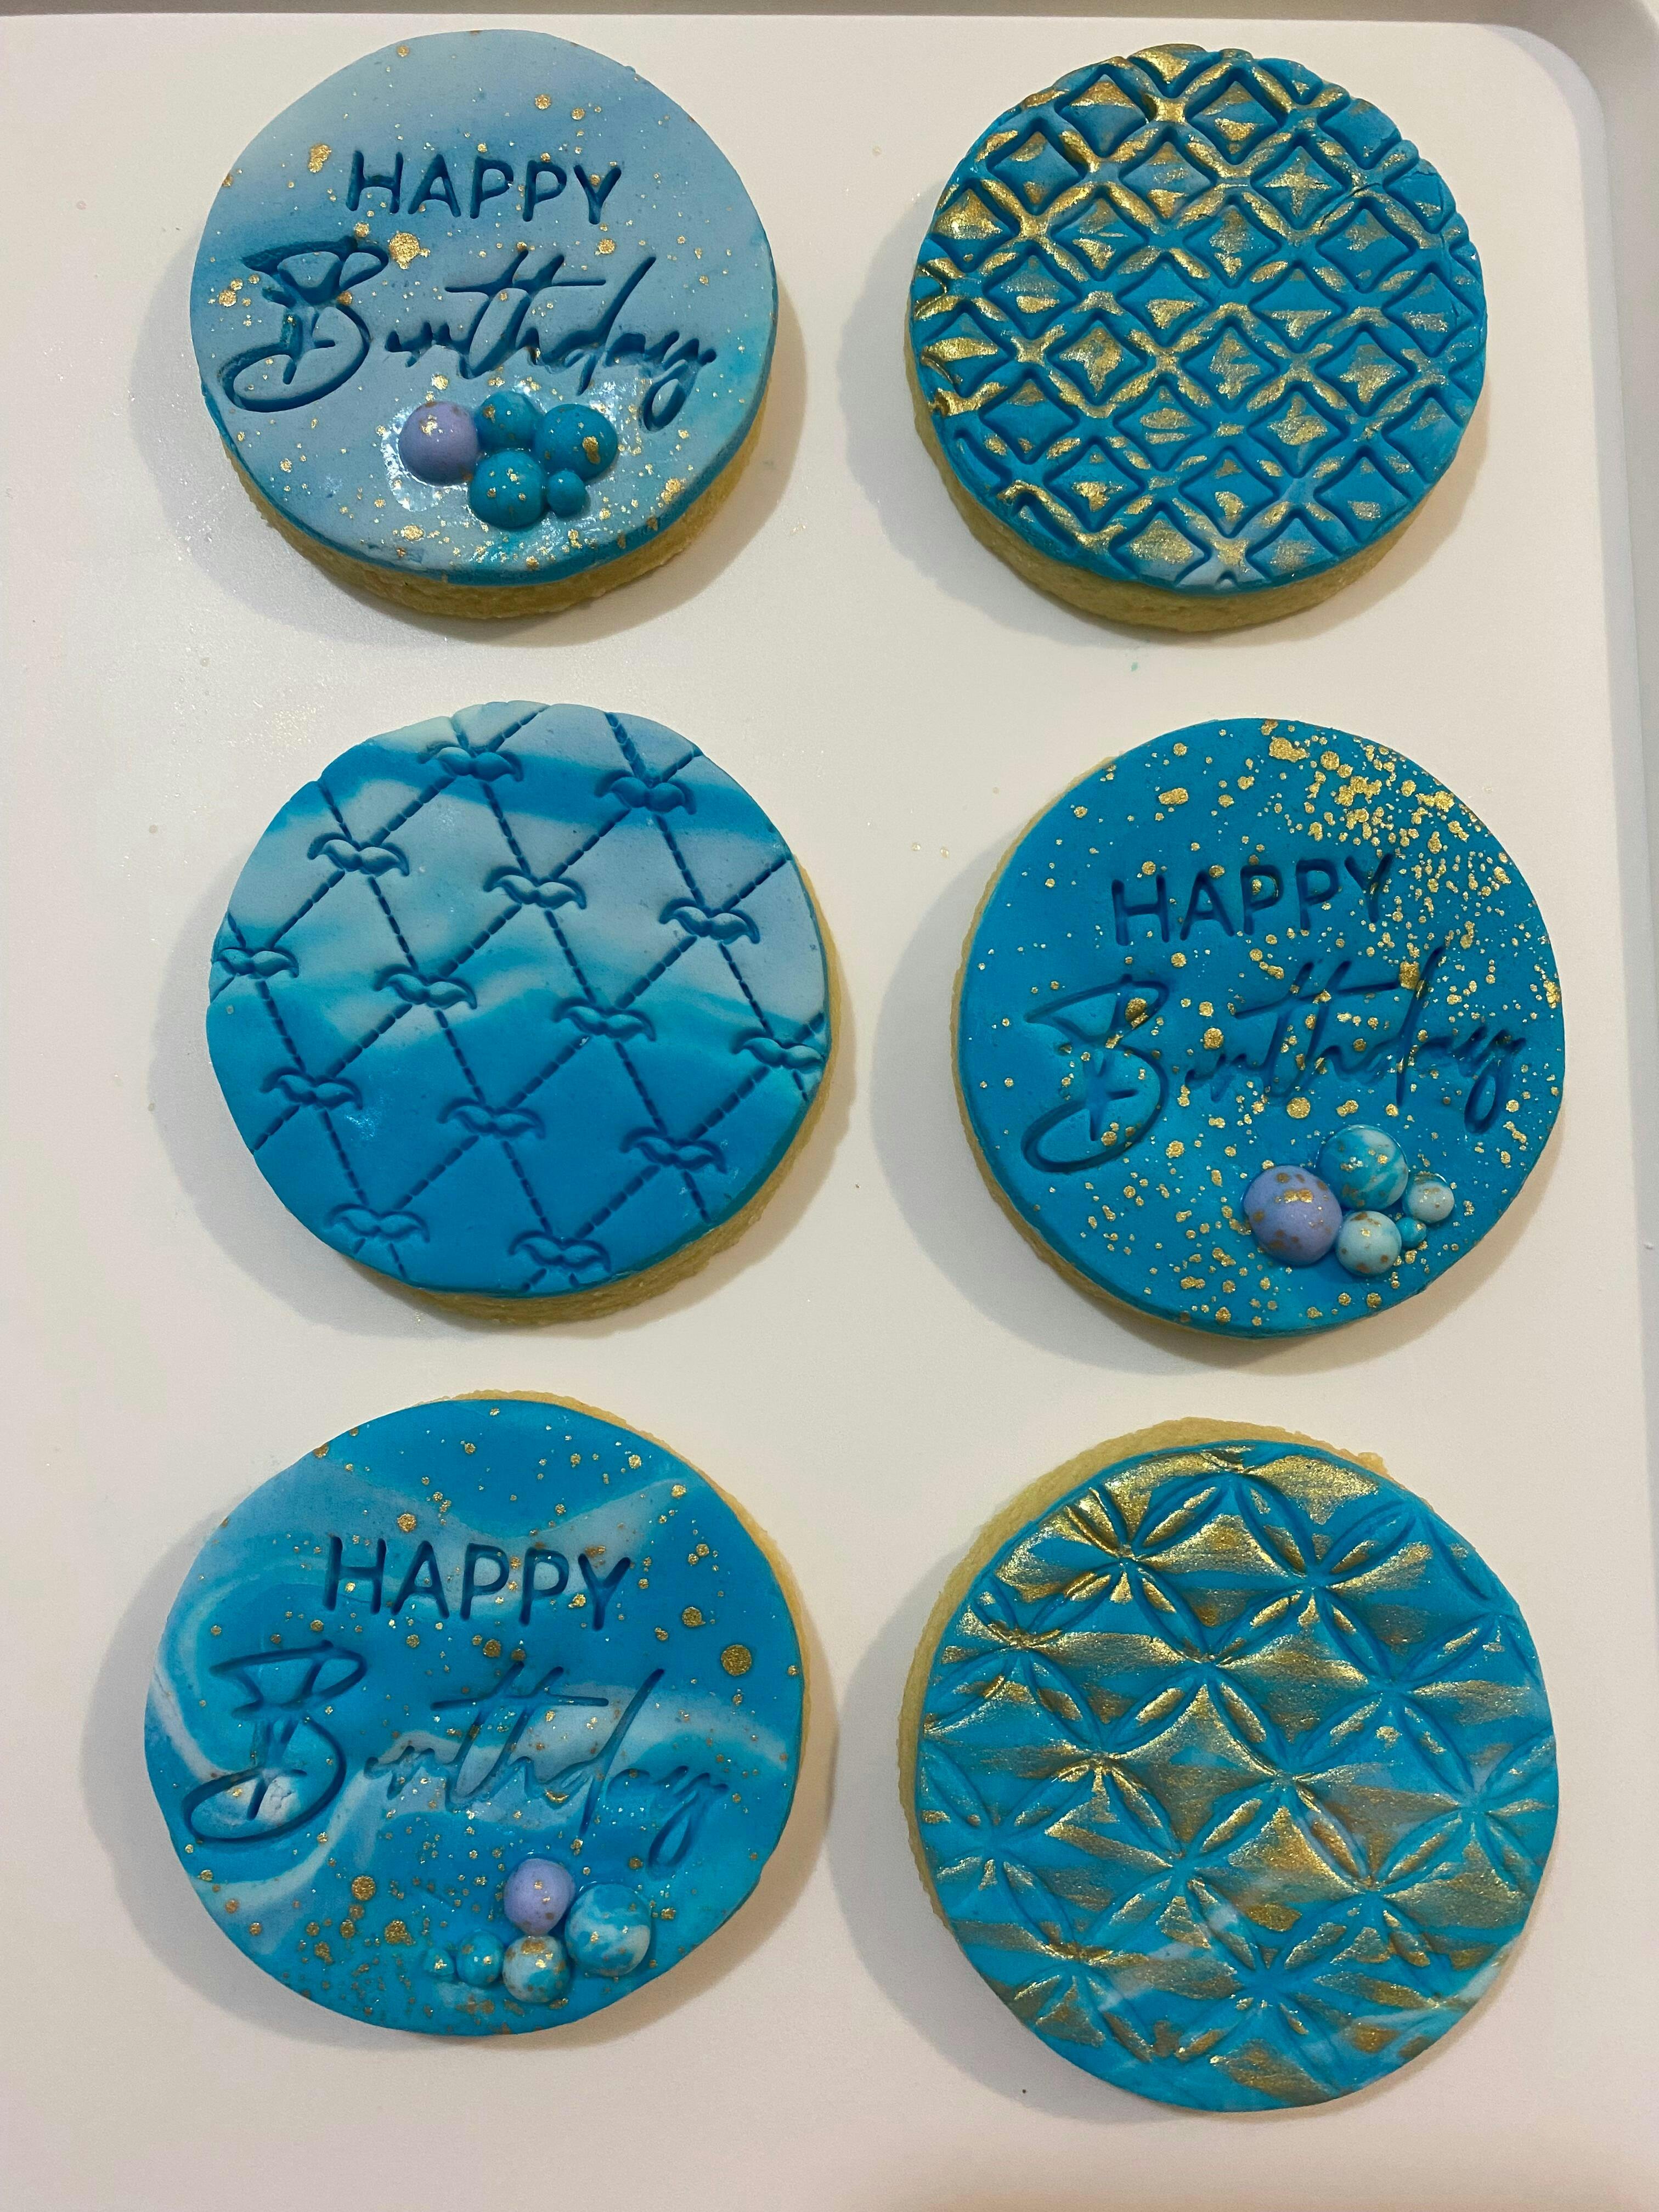
Purchased my first cutters and love making some beautiful cookies. Will be purchasing more in the future

Hi there,
Thank you for your lovely review! We're so happy to hear that you're enjoying your new cookie cutters and creating some beautiful treats. We hope to see you again for more baking adventures in the future.
Aaron & Emma
Very happy with my purchase , I will be back. Thank you.
Thank you so much for your kind words! We are delighted to hear that you are happy with your purchase and we look forward to serving you again in the future. Have a great day!
Aaron & Emma
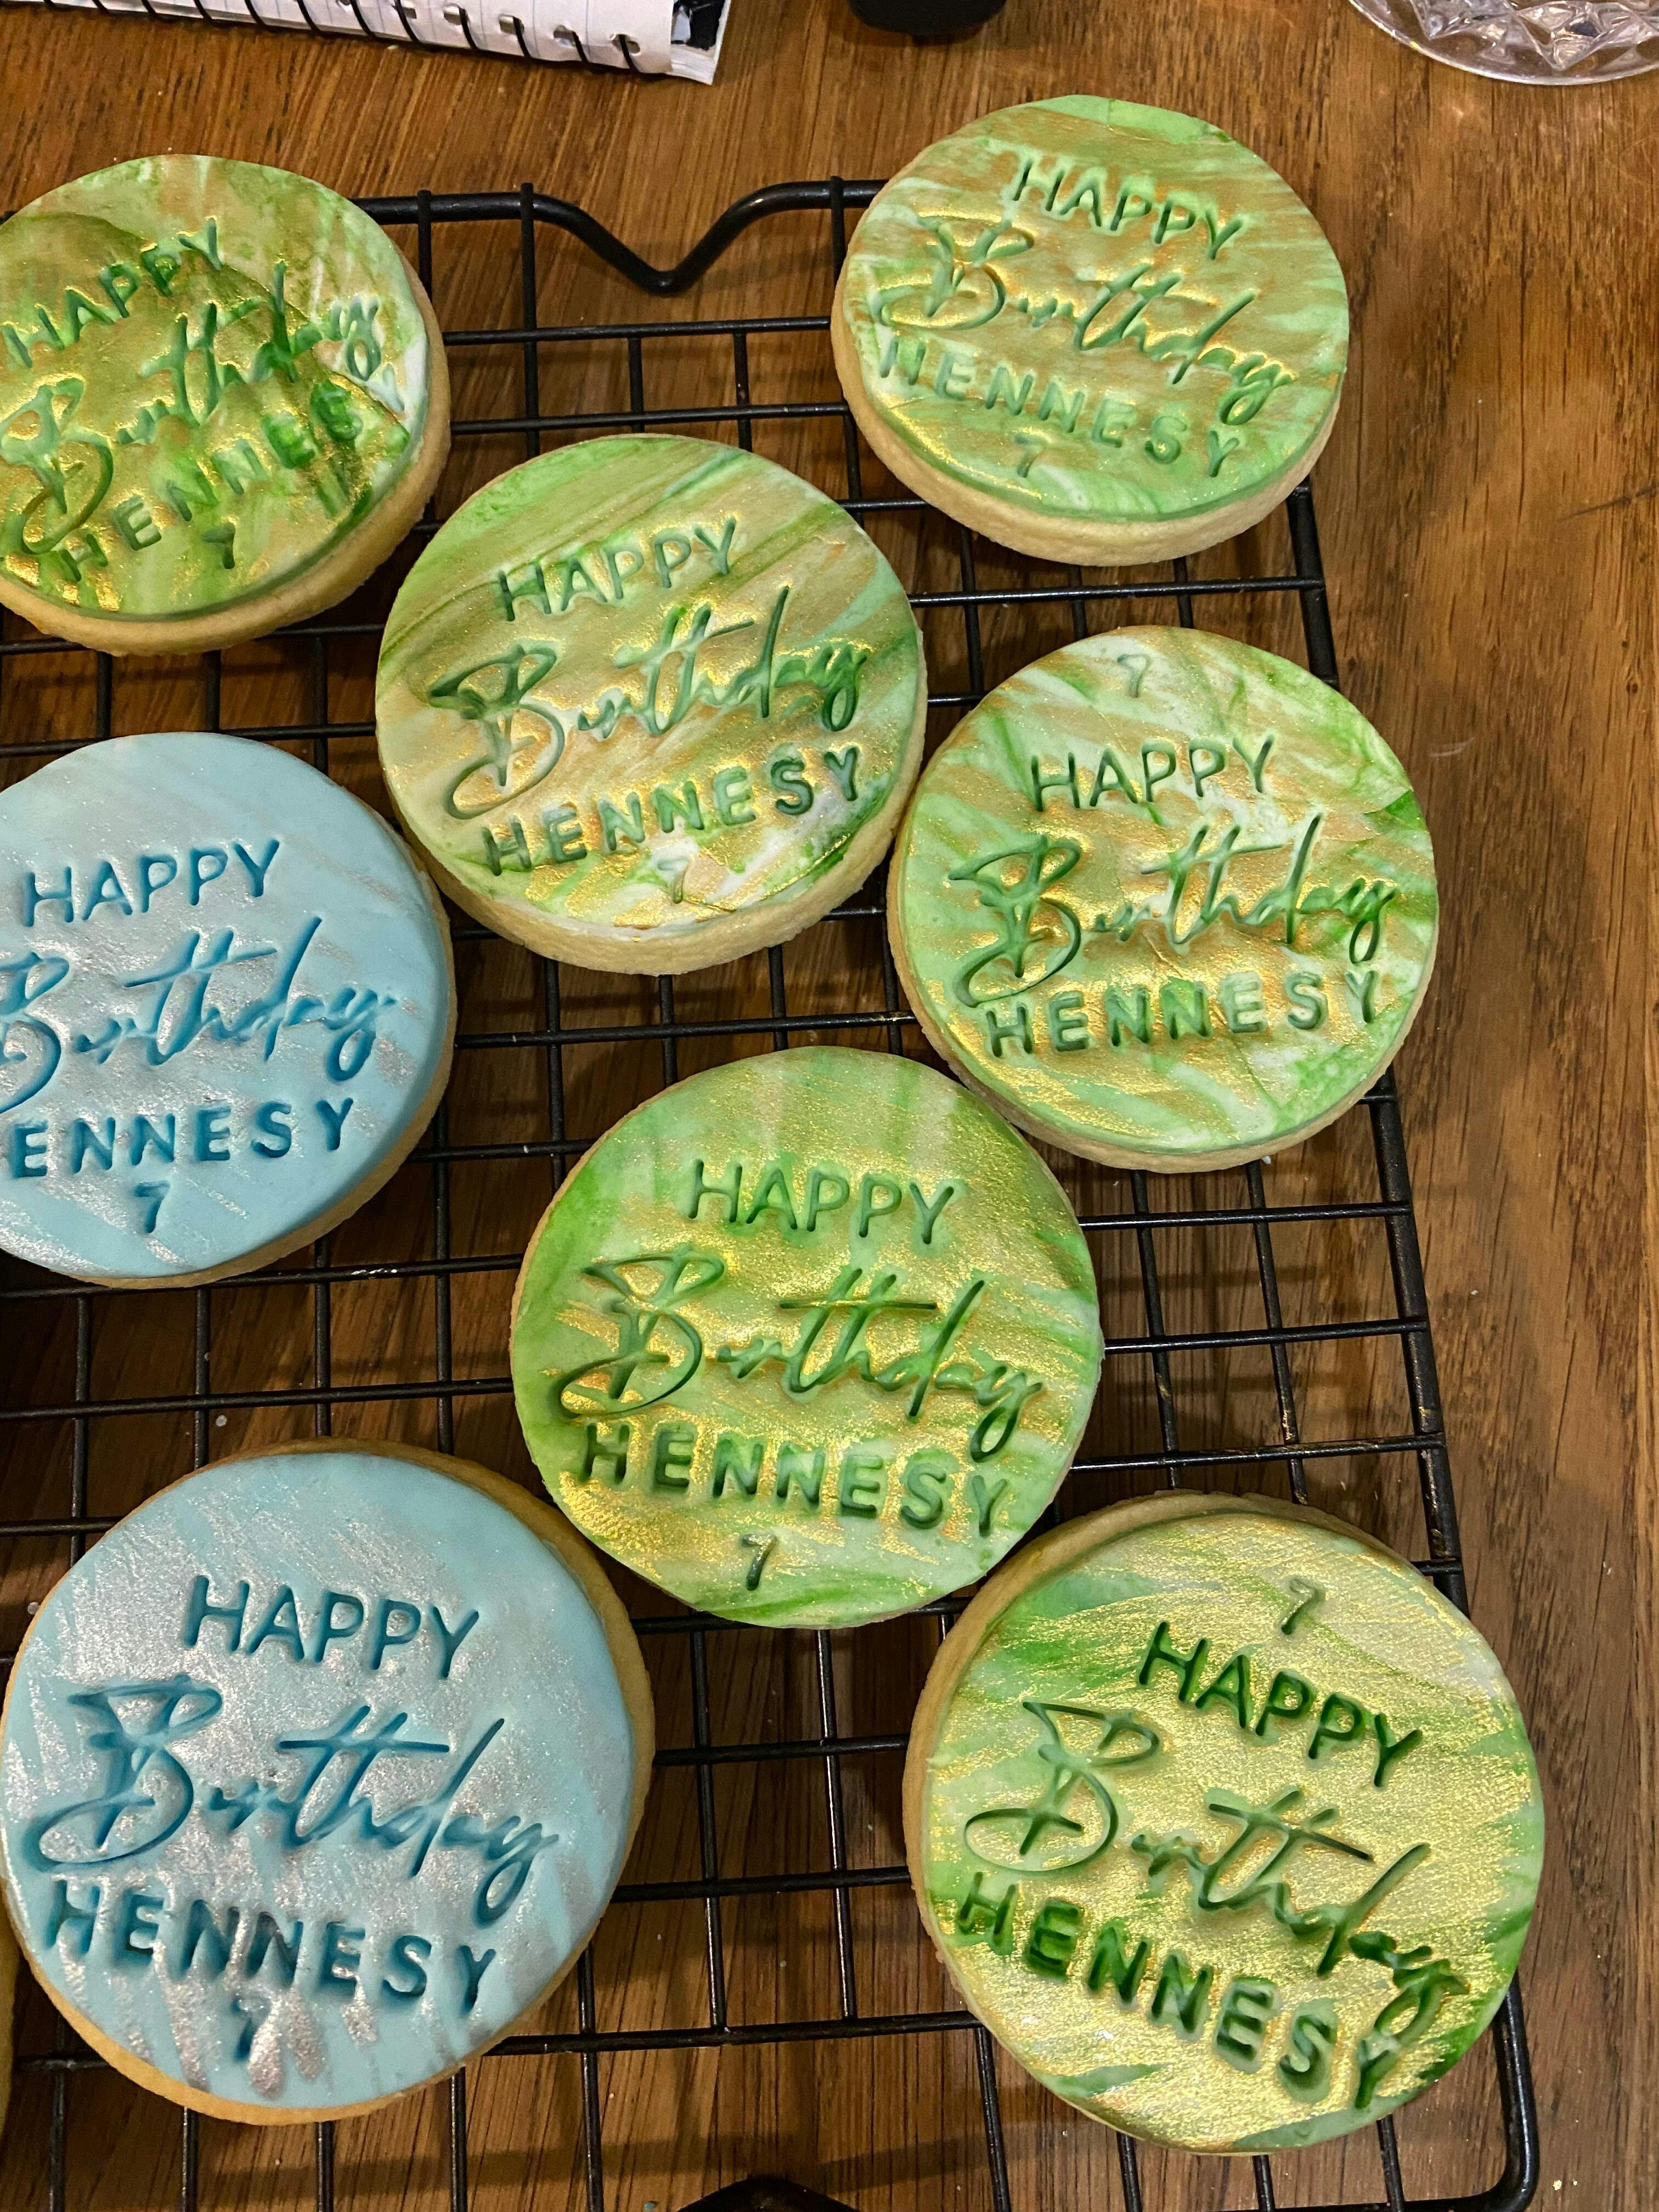
I sent a message to ask if frozen was available and within 10 minutes it was done they looked amazing and my daughter birthday cookies were delicious
Hi there,
Thank you for your wonderful review! We're so glad to hear that you had a fantastic experience with our service. It's our pleasure to have been able to help you with your daughter's birthday cookies. We hope she enjoyed them!
Aaron & Emma
Great design, easy to use, good quality. Prompt delivery.
Hi Angie,
Thank you for taking the time to leave such a kind review. We are delighted to hear that you are enjoying our Christmas Grinch Cookie Cutter and Embosser. We strive to provide easy-to-use and high-quality products, and we are happy that we were able to deliver that to you promptly.
Thank you for choosing our product and for your support. We appreciate it greatly.
Happy baking!
Aaron & Emma